
Setting up VNC on the Newton Lab
Setting up VNC on the Newton Lab machines
These instructions should help you start a VNC server on one of the Newton lab machines and connect to the server on your local machine (i.e., set up a remote desktop). We use Tiger VNC, as it’s already installed on the Newton lab machines.
Update 2017-08-13: A section on the Arch Wiki.
Local Installation
There are clients (vncviewer) for GNU/Linux, macOS, and Windows:
- On Debian/Ubuntu, install Tiger VNC with
apt-get install tigervnc. - On Fedora/Red Hat, install Tiger VNC with
yum install tigervnc. - On Arch Linux, install Tiger VNC with
pacman -S tigervnc. - On macOS or Windows, install one of the binaries from Tiger VNC’s release page (see the bintray.com link).
Start up a server
SSH into one of the Newton lab machines (e.g., cantor.colorado.edu):
user@localmachine:~$ ssh {identikey}@cantor.colorado.edu
Start a VNC server (on the next available display):
identikey@cantor:~$ vncserver

You will require a password to access your desktops.

Password:
Verify:

New 'cantor.colorado.edu:3 ({identikey})' desktop is cantor.colorado.edu:3

Starting applications specified in /home/{identikey}/.vnc/xstartup
Log file is /home/{identikey}/.vnc/cantor.colorado.edu:3.log
Note the display number is 3.
The VNC server will serve on port 5900+{display number} (port 5903 in this example).
Now close the SSH session so we can tunnel the proper port over SSH.
Connect to the remote server
To connect to the VNC server with your local machine, we will create a tunnel from a bogus port on your local machine to the port VNC server is using on the remote (Newton) machine.
On your local machine, we need a bogus, unused port.
Port 10000 usually works, so let’s use that for this example.
When we started the VNC server, it told us that it was using display 3, so that it’s bound to port 5903 on the remote machine.
The following command uses SSH to tunnel port 10000 on the local machine to port 5903 on the remote machine:
user@localmachine:~$ ssh {identikey}@cantor.colorado.edu -L 10000:localhost:5903

Now we’ve forwarded VNC server traffic to localhost:10000.
To connect on GNU/Linux,
user@localmachine:~$ vncviewer localhost:10000
On macOS, start up the Tiger VNC client and set the “VNC server” to localhost:10000:
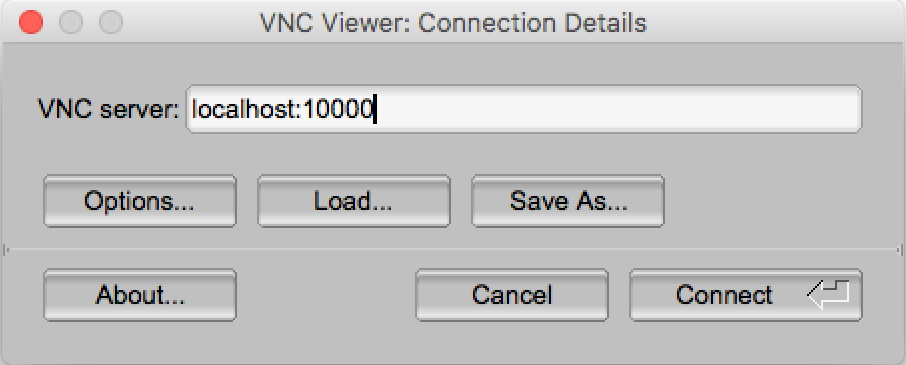
You should then be prompted for your VNC server password that you set earlier. Once authenticated, you should see the desktop (currently GNOME) from the remote machine.
If you see an error message of the form “Unable to connect to socket: connection refused”, make sure that you’ve set up SSH port forwarding correctly, and are pointing VNC viewer to the proper port on your local machine.
Some useful vncserver commands
The VNC server will run on one of the Newton lab machines. Below there are some useful commands to manage VNC servers.
To get information about runing servers:
identikey@cantor:~$ vncserver -list

TigerVNC server sessions:

X DISPLAY #     PROCESS ID
:6              31538
Note that :6 is the display used by the server. To stop it, we use
identikey@cantor:~$ vncserver -kill :6
Killing Xvnc process ID 31538
You can set up various configuration parameters in ~/.vnc/config on the Newton machines.
For example,
geometry=1900x1000
alwaysshared
localhost
Setting up an SSH key
From GitHub’s help page
If you haven’t done so already, it is probably wise to create an SSH key pair on your local machine.
user@localmachine:~$ ssh-keygen -t rsa -b 4096 -C {your-preferred-email}
Copy your public key to one of the Newton lab machines (you can also use ssh-copy-id).
user@localmachine:~$ scp ~/.ssh/id_rsa.pub {identikey}@cantor.colorado.edu:~
SSH into one of the Newton lab machines, and add your local machine’s public key to ~/.ssh/authorized_keys.
identikey@cantor:~$ cat id_rsa.pub >> ~/.ssh/authorized_keys
You can now SSH to the Newton lab machines without sending your Identiky password over the network.